
Back
Pelvic Floor and Cycling: Avoiding Discomfort and Pain
By Pelvic Health Physical Therapy on 2/2/2024
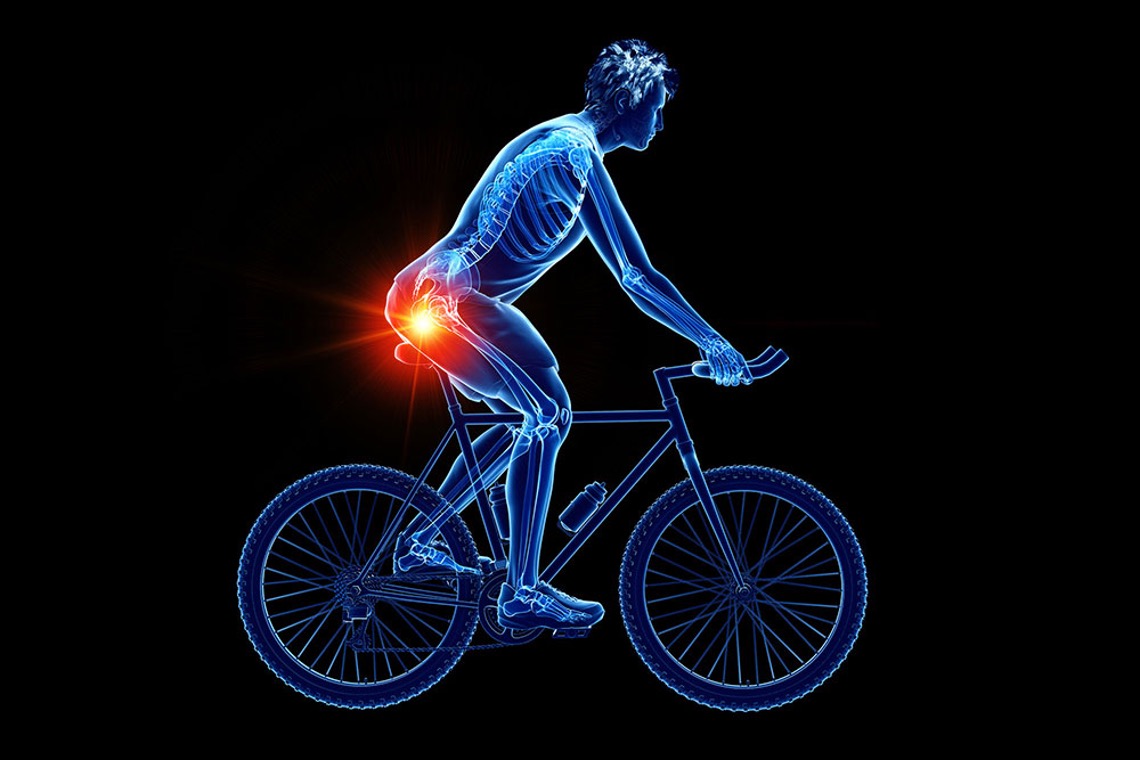
Cycling, especially for prolonged periods, can contribute to pelvic pain in some individuals. Pelvic pain related to cycling can have various causes, and addressing these factors can help alleviate discomfort.
Here are some common reasons for pelvic pain in cyclists and tips for prevention:
Saddle Discomfort:
Solution:
Choose a well-fitted saddle that supports your anatomy. Consider saddles with cutouts or channels to reduce pressure on sensitive areas. Experiment with saddle tilt and position to find the most comfortable setup.
Poor Bike Fit:
Solution:
Ensure that your bike is properly fitted to your body size and shape. A professional bike fitting can help optimize your riding position and reduce strain on the pelvis. Please see the information below on how to properly adjust your bike to your body and activity needs.
Overuse and Repetitive Stress:
Solution:
Avoid overtraining and allow for proper rest between rides. Incorporate variety into your cycling routine to prevent overuse injuries. Include cross-training activities to strengthen different muscle groups.
Pelvic Floor Dysfunction:
Solution:
Perform pelvic floor exercises to strengthen and maintain the health of these muscles. If you experience persistent pelvic pain, consult with a healthcare professional, such as a pelvic floor physical therapist, for personalized guidance.
Nerve Compression (Pudendal Neuralgia):
Solution:
Follow the tips mentioned in the previous response to prevent pudendal neuralgia, such as using a well-fitted saddle, taking breaks during rides, and incorporating pelvic floor exercises.
Incorrect Riding Technique:
Solution:
Ensure proper riding technique, including maintaining a neutral spine, avoiding excessive forward tilt, and distributing weight evenly between the sit bones. Again, see the information below on how to properly adjust your bike to your body and activity needs.
Use a Suspension Seatpost:
Consider using a suspension seatpost or a bike with suspension to absorb shocks and vibrations, reducing the impact on the pelvic area.
Muscular Tension and Imbalances:
Solution:
Incorporate stretching and strengthening exercises for the hips, pelvis, and lower back. Address any muscular imbalances through targeted exercises and consider consulting with a physical therapist.
Inadequate Warm-up and Cool Down:
Solution:
Always warm up before cycling and cool down afterward. Include dynamic stretches for the lower body to prepare the muscles for activity and promote flexibility.
Medical Evaluation:
If pelvic pain persists or worsens, it's important to consult with a healthcare professional. They can perform a thorough evaluation to identify any underlying issues and recommend appropriate treatment.
Below are tips on how to ensure proper fit of your bike:
Proper Bike Fit:
Ensure that your bike is properly fitted to your body size and shape. Here are some general tips for a proper fit. You may need to adjust based on your body and comfort level:
Level and Center the Seat:
Start adjusting fit by placing the bicycle on a level surface and checking that the seat is level. A good way to check if the seat is straight is to place a carpenter's level on top of the seat. If you don't have this tool, place a ruler or yardstick on top of the seat and compare the edge of the yardstick to a horizontal sight line, which you know to be level. While adjusting, ensure that the seat is centered on its rails over the seat post, too.A level seat supports your full body weight, offers optimum pedaling efficiency, and makes it easier to move around on the seat when necessary. While it may seem logical to think that tilting the seat down will ease pressure on sensitive areas. However, when doing this this, your entire body ends up sliding forward when riding, which ends up putting extra pressure on your arms, hands and knees. The excessive pressure can lead to other injuries (eg: nerve compression and rotator cuff tendinitis).
Most riders typically do fine with level seats. If you experience discomfort, you may tip the seat slightly (no more than 3 degrees) up or down. Women typically tip it down; men tip it up.
Raise the seat up to align with your hip bone.
You will need a partner to help you with the directions below for proper fit.
To find seat height, place your heels on the pedals and pedal backward. You've found the optimum seat height when your legs are completely extended at the bottom of the pedal strokes with your heels on the pedals.
As you pedal backwards, have your helper watch for rocking hips, the sign that the seat is too high. You want to have your legs completely extended at the bottom of the pedal stroke with no rocking of the hips. With the seat set at this height, when you're pedaling with the balls of your feet over the pedals, you'll have the perfect bend in your knees.
Adjust the Shoe Cleats:
If you're riding in cycling shoes, the cleats on the soles must be positioned correctly. There are two important adjustments, fore/aft and angular. The former is easy to find, the latter takes some careful trial and error.Fore/aft:
The cleat should be positioned so that the balls of your feet rest over the centers of the pedals (the axles) when you're pedaling. Sight from the top when you're on the bike to check this (hold your feet level).Angular:
When your right foot is at the 3 o’clock position of the pedal stroke, your knee should be aligned over your forefoot. A plumb line dropped from the bottom of your kneecap should fall straight to the ball of your foot and through the center of the pedal. In this position, your shin will be tilted forward slightly.
Check your Upper Body Position:
Aim for a riding position that gives you a modest amount of shock-absorbing bend in your arms without forcing you to reach too far to apply the brakes. If it feels as though you could comfortably play piano keys on your handlebar, your arms are in a good position. *NOTE
: the position of your upper body may be different from road bikes vs. mountain bikes, where you may need to be more angled forward on road bikes and more upright on mountain bikes.For road bikes,
your torso will form a 45-degree angle with your hips, and a slight bend in your elbows. If you have tight hamstrings or short arms, you can bring the handlebar closer and keep the strain off your back and shoulders (you may do this at home if you have a stem available or have a professional replace it for you to make the proper adjustments).For mountain and hybrid bikes
, these exact angles are not as critical since the riding positions are often more upright and relaxed. With mountain bikes especially, more time is spent out of the saddle, so dialing in the perfect seated pedaling position isn’t as crucial.
Check Handlebar Reach:
A proper reach to the handlebars is the key to tolerating longer rides. If the bars are too close or too far away, you may experience injuries to the pelvic floor, neck, back, and/or wrists. To check reach at home mount your bike on a trainer and make sure the bike is level. Get on and pedal until you're comfortable with your upper body relaxed (eg: Look ahead as if you were looking down the road. For dropped handlebars, rest your hands on the tops of the brake levers. For flat bars with bar ends, use the regular grip position. Now, have a helper look at you from the side to gauge where a plumb line dropped from the tip of your nose would fall. Optimally, there should be about an inch between the plumb line and the center of the handlebar.
**A proper bike fitting can help optimize your riding position, reducing pressure on the perineum.
Some additional options to ensure a more comfortable ride:
Saddle Selection:
Choose a saddle that is appropriate for your anatomy and provides proper support. Many saddles are designed with cutouts or channels to relieve pressure on sensitive areas.
Saddle Tilt and Position:
Adjust the tilt and position of your saddle to minimize pressure on the perineum. A slightly nose-down tilt can be more comfortable for some cyclists.
Use Padded Shorts:
Wear padded cycling shorts to provide additional cushioning and reduce pressure on the perineal area.
Seek Professional Advice:
Consult with a bike fitting professional or a healthcare provider who specializes in sports medicine to ensure your bike setup and riding habits are optimal for your body.
Remember that individual factors, such as anatomy, fitness level, and pre-existing conditions, can influence the likelihood of experiencing pelvic pain. If you're experiencing persistent discomfort, seeking professional advice can help identify the specific cause and develop an effective treatment plan tailored to your needs.
Read More:
Dry Needling for C-Section Scars and Postpartum Recovery By Dr. Christine Martirez PT, DPT on 10/15/2024 Learn how dry needling can be used for c-section scars and c-section recovery How Red Light Therapy Can Be Used to Treat Pelvic Floor Dysfunctions By Dr. Christine Martirez PT, DPT on 10/15/2024 Learn about red light therapy and how it can be used to treat pelvic floor dysfunctions
Are you ready to live pain free?
Request An Appointment